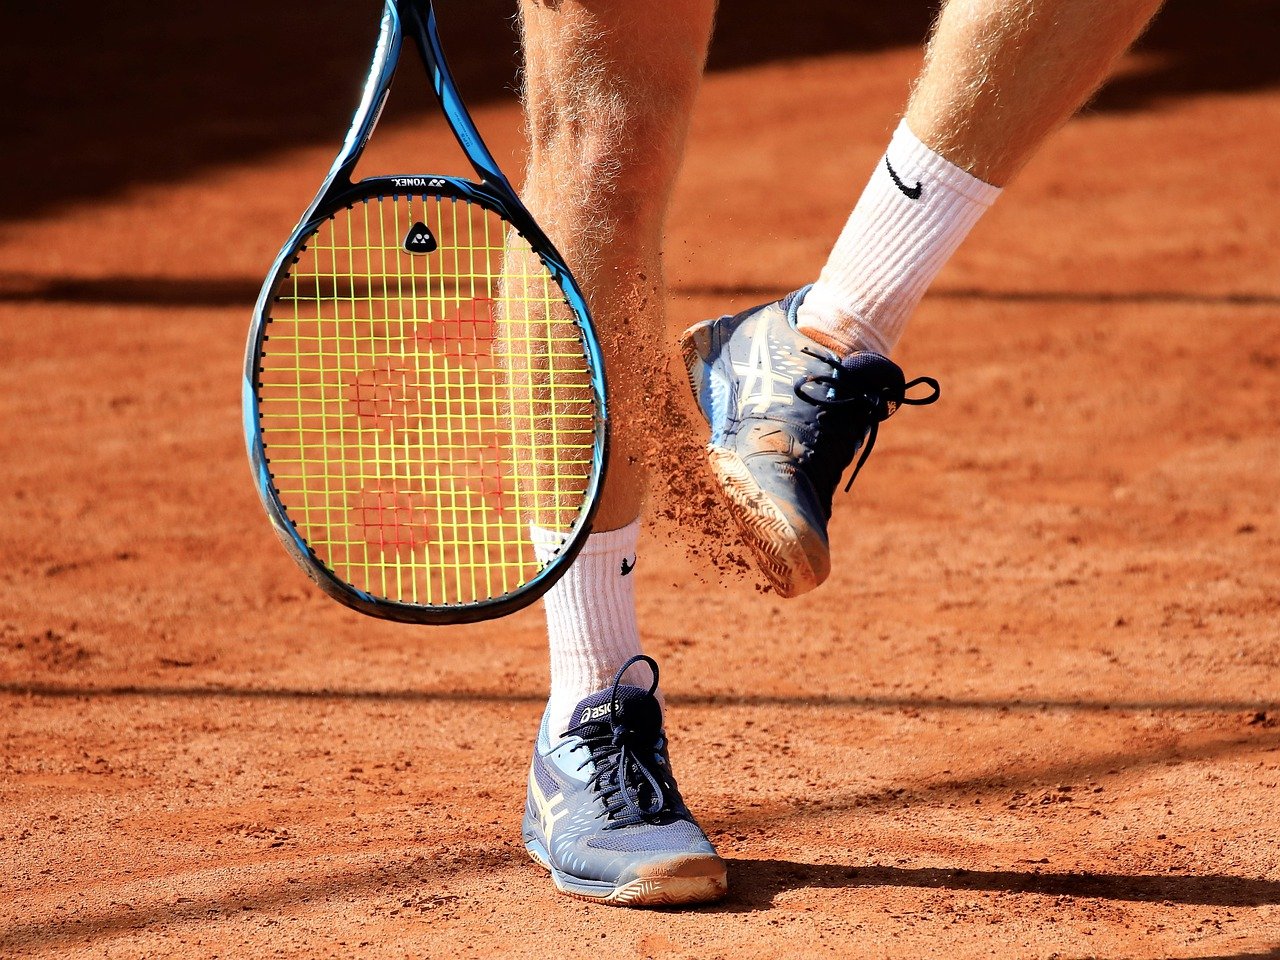
If you’re a beginning tennis player, it’s easy to assume that the game is all about the upper body. After all, the powerful serves and impressive forehand and backhand shots that professional players use clearly show that strong arms are a must. Therefore, it might surprise you to learn that it’s your legs—rather than your arms—that matter the most when it comes to the quality and effectiveness of your overall tennis game.
Tennis experts, coaches, and professional players alike agree that even if you’re struggling with challenges such as poor net skills or weak returns, mastering efficient tennis footwork will still allow you to perform well on the court. On the other hand, regardless of your other strengths or skills, if your footwork isn’t up to par, you’ll likely find it nearly impossible to advance to a higher level of play. This makes perfect sense when you think about it: the whole point of good tennis footwork is to get you in the right position to reach the ball when it comes your way. However, if you’re not able to get to the ball in time due to problems with your footwork, it doesn’t matter how strong your backhand is: you won’t have an opportunity to use it.
Since footwork is so critical to a good game, it’s important for new players to understand the fundamentals of tennis footwork techniques and to learn the best and most efficient ways to move around the court. Read on for an overview of the essential positions, steps, and stances that you need to know.
Ready position
The ready position is the most common technique used in tennis, as it allows you to keep your options open and to run wherever the ball goes. To assume this position, you should stand with your legs shoulder width apart, and make sure your body weight is distributed equally on both feet. Slightly bend your hips and knees, and hold the racket in front of your body with both hands. Whenever you’re anticipating the next shot from your opponent, you want to be in the ready position, ideally at the center of the court.
Split step
This footwork maneuver is all about keeping you off of your heels and enabling you to move quickly and explosively around the court. To execute the split step, begin in the ready position. As your opponent makes contact with the ball, and just before you start running toward it, make a short hop. This will give you an extra burst of power and help you to reach the ball faster.
Side shuffle
During a tennis game, you always want to return to the center of the court (or as close to it as possible) after you’ve hit the ball back to your opponent. However, for obvious reasons, you can’t simply turn your back on your opponent as you run to the middle of the baseline. Instead, you’ll want to do the side shuffle. This recovery method may not be fast, but it’s very safe and effective, as it allows you to move from side to side while still keeping your opponent in full view. To do the side shuffle, you should think like a crab: shuffle your inside foot towards the center of the court and your outside foot towards your inside foot, while making sure that your feet never actually touch while you’re moving.
Cross step
Also known as the crossover step, the cross step is the technique you’ll use if you need to get back to the center of the court as quickly as possible (for example, if you’ve had to move far from the center to return a shot). As the name implies, the cross step is performed by crossing one leg over the other in the direction of travel. While this allows you to cover more ground more quickly, it does have the disadvantage of limiting your ability to change direction afterwards. For this reason, the cross step is often used together with the side shuffle to obtain the best of both worlds: speed and flexibility.
The four stances
Just before you hit a shot, whether it’s a forehand or backhand, you’ll adopt one of the four primary tennis stances. The stance you choose will depend on where you are on the court and how much time you have to get into position.
Closed stance—In the closed (or “classic”) stance, your feet are turned sideways so that they are parallel with one another and with the baseline. Mainly used for backhand shots while at the center of the court, this stance allows you to fully and properly turn your shoulders and body, as needed.
Neutral stance—With the neutral (or “square”) stance, you have the ability to step into the ball, which adds more power to your shot and offers you the option to approach the net. In the neutral stance, your back foot is parallel to the baseline, while your front foot is turned to a roughly 90-degree angle.
Semi-open stance—Used in situations in which you don’t have quite enough time to get into the neutral stance, the semi-open stance provides you with greater flexibility for full shoulder rotation and complete shot follow through. To adopt this stance, you should position both of your feet so that they are parallel to each other but diagonal to the net (at a roughly 45-degree angle).
Open stance—In the open stance, both of your feet should face the net in a straight line. When you’re positioned like this, you should rotate your upper body rather than your lower body, which creates torque for your swing and puts extra force on the ball. The open stance is a position that enables you to hit powerful shots.

Sorry, comments are closed for this post.